
Adding cabinet molding is one of the most cost-effective upgrades to elevate kitchen, bathroom, or laundry room cabinetry. With the right planning, precise measuring, and careful finishing touches, you can transform plain boxes into high-end, custom-looking displays. This guide focuses on Cabinet Molding Installation, offering practical steps, tools, and tips that help you achieve a clean, professional look without wasting material or time. If you’re hunting for more inspiration, explore ideas from Dream of DIY, and for a detailed, step-by-step resource, browse the page Cabinet Molding Installation.
Understanding the Basics
Cabinet molding is decorative trim that fits along the tops, bottoms, or fronts of cabinet doors and panels. It can add architectural interest, cover gaps, and give a built-in feel to flat-front cabinetry. When choosing a profile, consider whether you want a traditional, modern, or transitional look. Material options range from solid wood to medium-density fiberboard (MDF); both take paint or stain well, but wood offers natural warmth that some homeowners prefer. Before purchasing profiles, measure the cabinet run, including any irregular corners, so you buy the correct length and quantity. A little planning now saves a lot of cutting and fitting later.
Tools and Materials You’ll Need
- Miter saw or a good handsaw with a miter box
- Finish nails or a finish nailer
- Wood glue and wood filler
- Caulk, painter’s tape, and a caulk gun
- Sandpaper (120–220 grit) and a sanding block
- Measuring tape, speed square, and level
- Paint or stain and a compatible topcoat
- Clamps or painters’ wedges to hold pieces during setup
Step-by-Step Guide to Cabinet Molding Installation
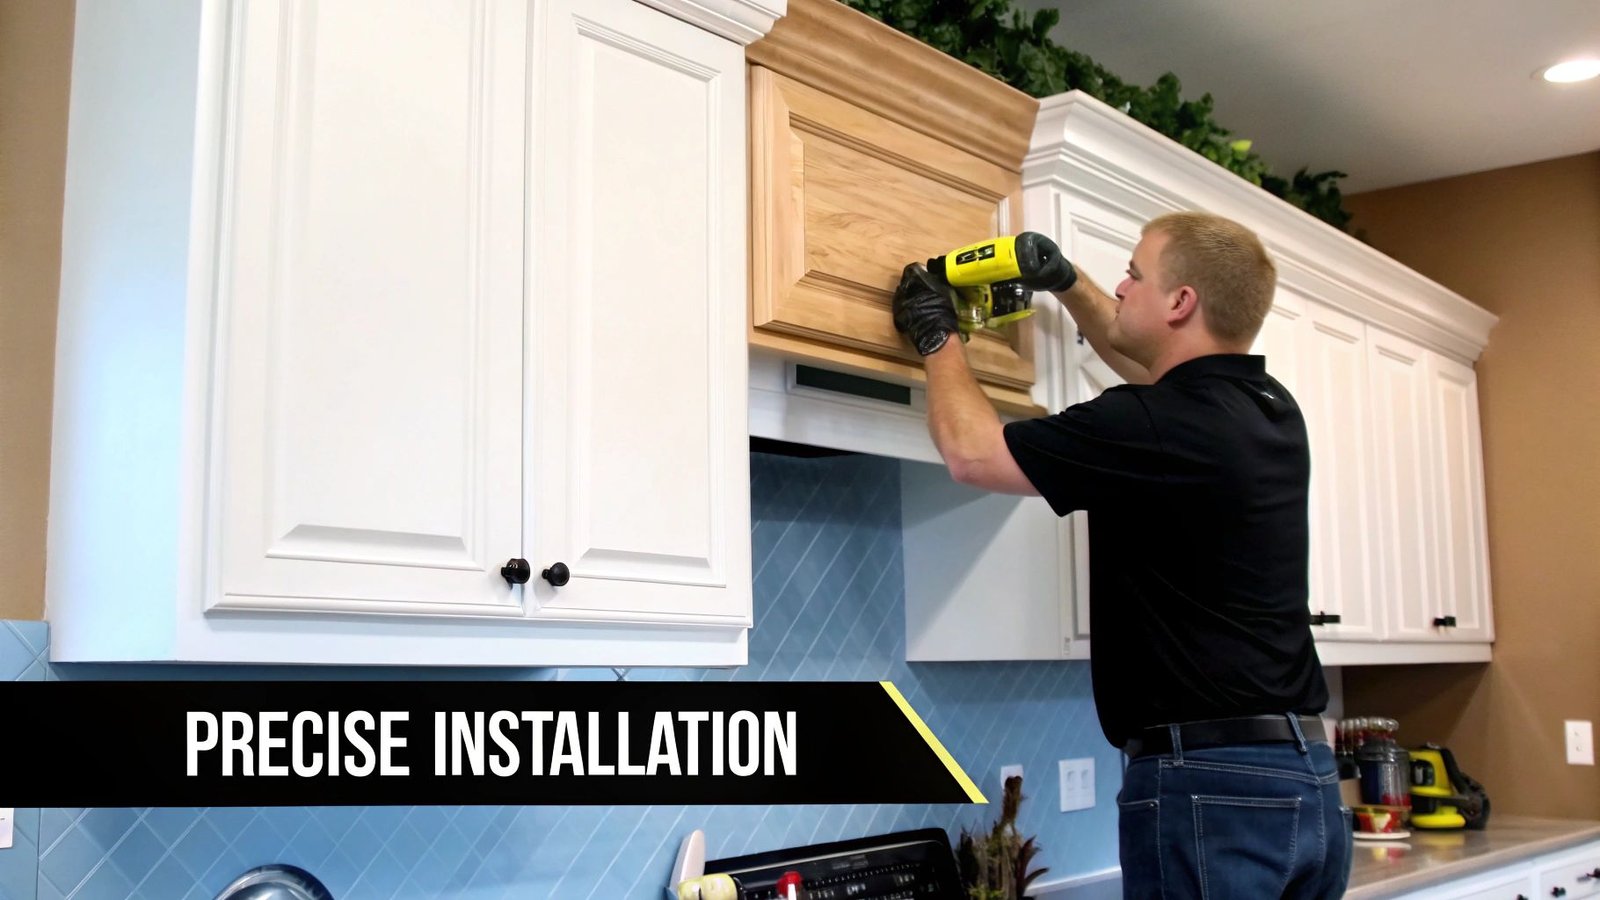
- Measure accurately: Start with a dry run by laying out the molding pieces along the cabinet edges. Mark corners with a pencil and check for level and plumb alignment. Small discrepancies are easier to fix in the layout before any cut is made.
- Cut precisely: Use a miter saw to cut corners at 45-degree angles where profiles meet. For inside corners, consider a cope joint or a 45/45 miter depending on the profile. Always cut two pieces to ensure the joints line up cleanly.
- Dry fit and adjust: Place the cut pieces in position without glue to verify fit. Trim any high spots or gaps with a fine file or sandpaper to achieve a seamless look.
- Attach securely: Apply a thin bead of wood glue to the back edge or contact surface, then drive finish nails at every 12–16 inches. Countersink nails slightly and fill with wood filler for a smooth finish.
- Fill gaps and seams: Use a quality caulk to seal between the molding and the cabinet face. Smooth the bead with a damp finger or a caulk tool, ensuring a consistent line.
- Finish the pieces: Sand lightly after the adhesive dries, then apply your chosen finish—paint, stain, or clear coat. A light sand between coats improves adhesion and results in a smoother final appearance.
Finishing Touches and Maintenance
Consistency is key. Keep profiles aligned with the cabinet edges and maintain uniform gaps where needed to avoid a busy or uneven look. After finishing, wipe away any dust and inspect joints for tiny gaps you can touch up with more caulk or filler. If you’re repainting, use a primer compatible with your topcoat to ensure durability and color consistency across the molding. Proper lighting while installing also helps you spot misaligned seams and make precise adjustments in real time.
For ongoing inspiration and additional steps, don’t hesitate to explore more DIY resources on Dream of DIY. If you’re ready for a deeper dive into the details, revisit Cabinet Molding Installation for diagrams, profiles, and variant projects that suit different cabinet styles.